Hey all !
Thought I would include a small general editorial on building a small 550gallon goldfish pond.
It's still great weather down here in South Texas, so my side projects continue !
The pond is 15ft in length and roughly 12ft at the widest. The floor dips from 19inches to just under 2 feet. ( You'll soon discover why later in the read ! ugh ! ) I put a flow meter to it upon fill and found it just to be a touch over 550gall.
Okay--- So here's how it all went down !First, you want to get a idea on what you want. In talking with Paula it was agreed the main points would be :
* proportion the pond to the area
* maintain waterfall to height of under 3 feet
* the sound and look would be that of a smallish trickle, minimal sound
* something to help visually detract from the rock waterfall area concerning it's raise above surrounding grade
* pond placed in selected location that still can be seen well from the back patio, kitchen, and living room area
* organic and natural look of pond rock and design
* a skimmer to help with the leaves from the tree above
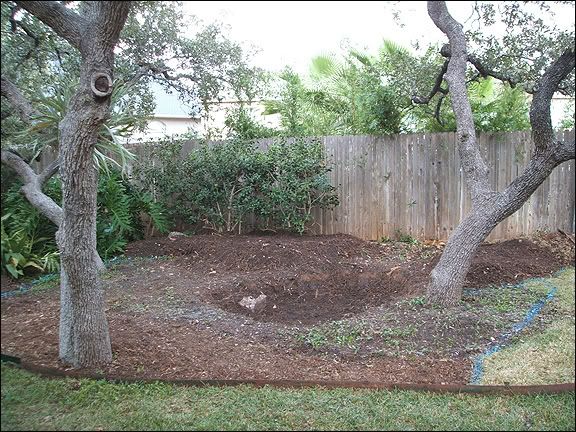
We had already decided the best local to achieve the "see it well from back patio, kitchen, and living room area" would be here :

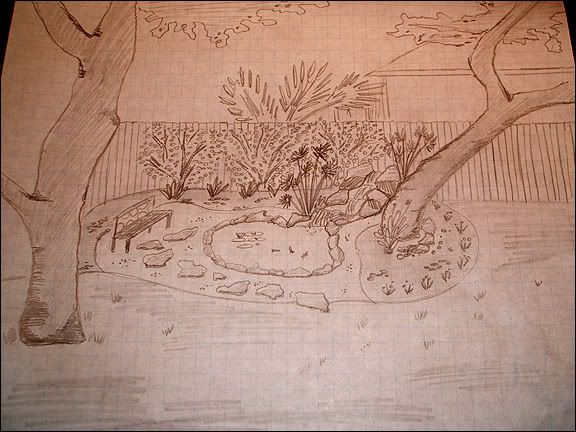
SOON TO BE THIS :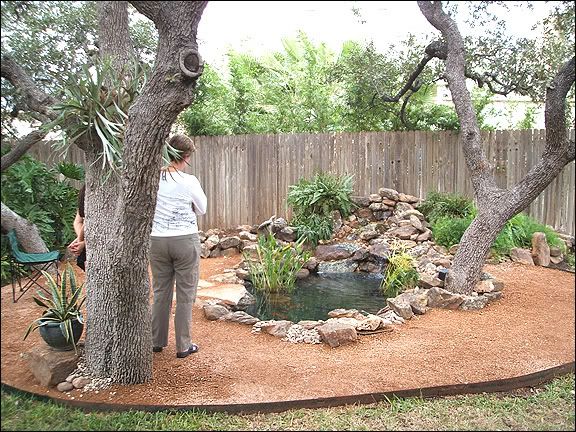
So gathering the preferences on what we were after I threw down a quick sketch so I could help Paula visualize a little better what the end result would resemble. You like my little STICK FISH in the pond ?!?!


We needed to clear out the site, so all those variegated gingers soon found a new home. Once we had a clear area to work in I took spray paint to make out planting bed areas and perimeter of the pond.

Digging was slow going as the neighboring Oak trees have these smaller surface runner roots that held on to every shovel full of dirt. Not even 8 inches below surface I run across a largish rock ? Hmmmmmmmmmmm.... just a large rock... no worries.. how big can it be ? I'll find the bottom and edges soon and get it out--- HA !.. little did I know this was the TITANIC of pond boulders ! Much more hid below !

With the excavated dirt, I began to build up the elevated planting beds to the right and left of where the falls would go. This would help address the issue of using planting to help soften the eruption of rock the waterfall would appear if not for vertical element plants. We did not want this block of rock just to be sticking up on the end,.. here is where tiered or elevated beds can work wonders.
Remember that LARGISH ROCK I spoke of ? well it turned into a BIG OLE BOULDER !
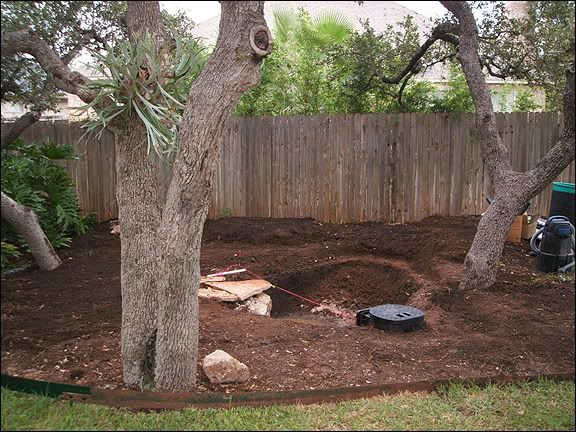
It was eating about a foot into my pond real estate,.. but thought instead of extra money and labor time... why not use it to our advantage ? I would use it as a footer for a
slate stone walk up feeding area ! Sometimes you have to roll with what cha got and improvise ! I proposed the idea to Paula and she loved it. Next,... I installed the SAVIO SKIMMER. A little rain came in and turned my dig into a sloppy mud mess ! Slinging mud for a couple hours will wear ya down ! Still trying to figure out how mud got in my belly button !??!
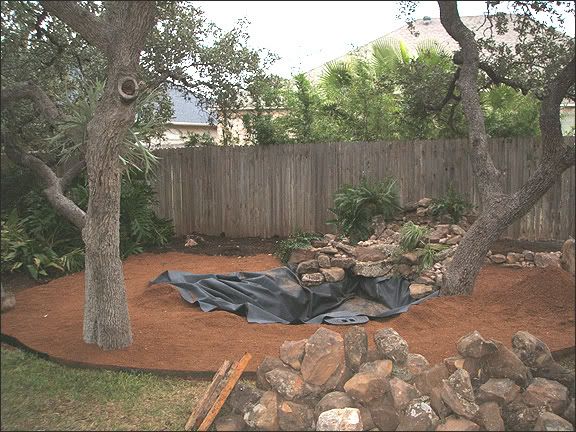
3 pallets of Moss rock and 2 yards of decomposed granite was delivered. In this pic you cane see the weed block and first section of decomposed granite being put down.
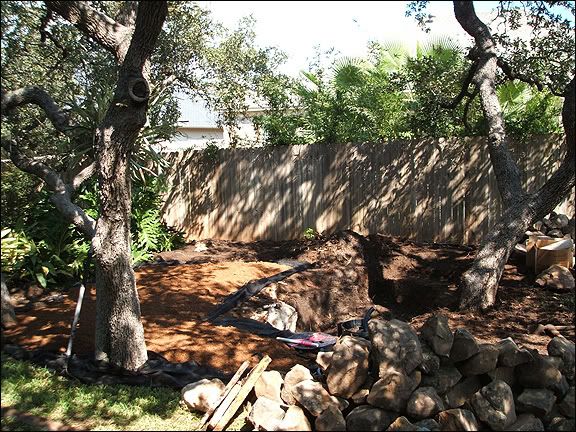
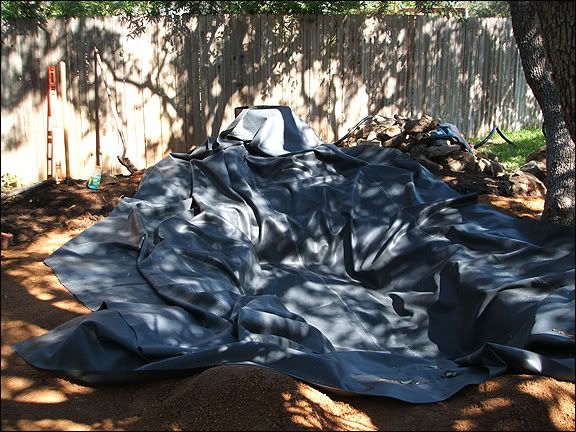
Here comes the carpet and foam to act as a "preliner" to help protect the 45 mil liner from below. ( convenient the neighbors across the way had a enough to line the OCEAN as they had been redoing the entire downstairs for tile )
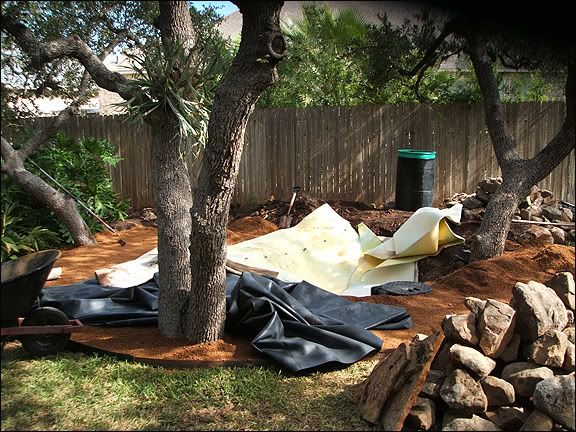
Next I took a 55gallon plastic drum used to hold liquid soda syrup to act as by biofilter. I took a recip saw and took off the top. I used a hole saw and cut a hole out of the barrel for my 3"uniseal. Pushed through a measured section of 3inch PVC pipe. I came back later and spray painted it black to hide the white pipe.
The water from the 1250gph pump would take water from the skimmer, feed it into the bottom area of the drum and overflow out the 3inch PVC pipe and start the waterfall. A ball valve installed inline was installed to get the precise flow for the main fall.

Make sure to have a solid sub base and level the drum ! You can also see the black 1 1/4" feed flex PVC hose that runs to the backside of the drum. I put a T-connector and a ball valve to allow for a second waterfall area !
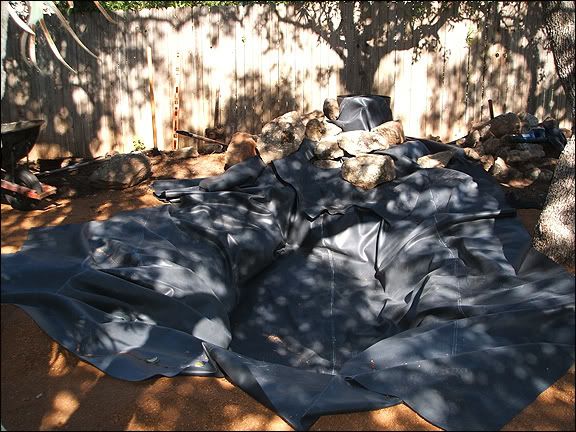
Here comes the liner !
Some of the bigger 90+lb boulders coming in to create the waterfall area.
Here is where creativity comes into play ! If you never pasted the
PASTA NECKLACE MAKING in pre-k ... well then I dunno what to tell ya... because piecing together and creativity takes poll position at this stage ! Use larger rocks for main spill areas and base rocks. Use flatish rocks for spill rocks as well. Always keep an eye out for interesting rocks that might serve better to "channel water" in a natural manner.
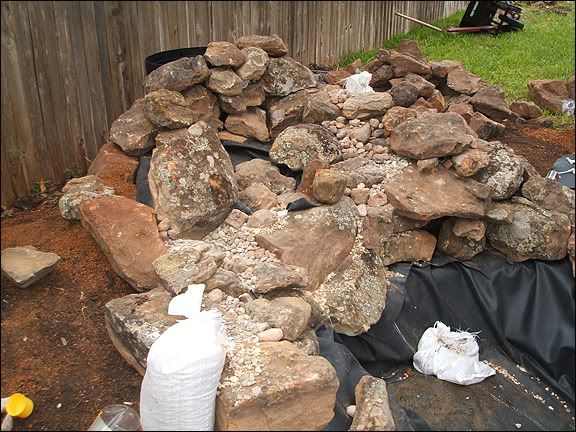
Take not above how I used different grades of gravel to start to fill in gap area around the rock. Don't forget as you create levels and pools.. to use foam to help seal up the gaps so you don't lose water UNDER THE ROCK. Don't forget about leaving some "PLANTING POCKETS" for movable potted plants or permanent plants to find a home.
I use the GREATSTUFF yellow foam found at any HOME IMPROVEMENT STORE ( Home Depot / Lowes ).
( Try your best not to get this on your hands !...lotion and fine grit sandpaper will take it off )
And when it's on your clothes --just forget about that shirt or pants ! That article of clothing just became another addition to your WORK CLOTHES !

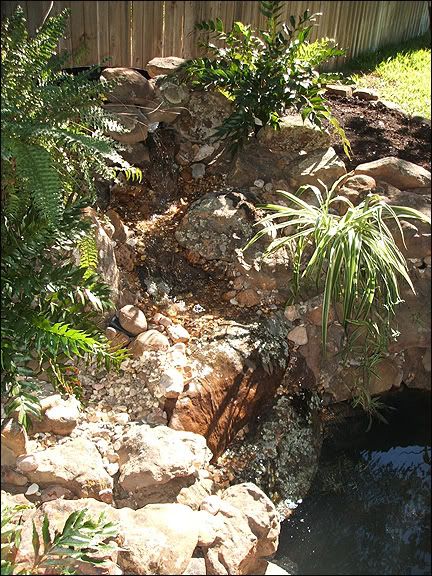
Check out the SPILL ROCK to the right of the pic. There is the second waterfall. Perfect rock with a down slope and jutting piece to the right to channel water right down the middle of it.
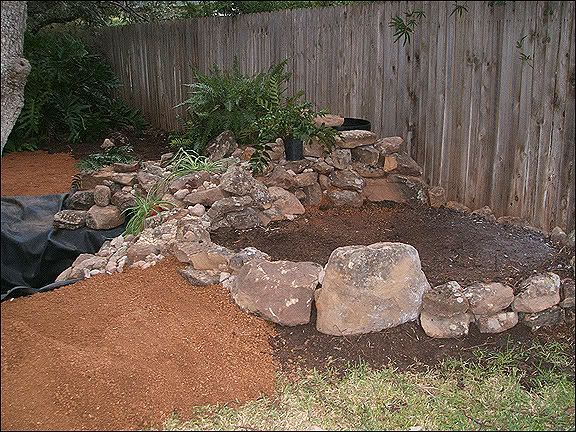
All decomposed granite in the area, and waterfall continuing to be built :
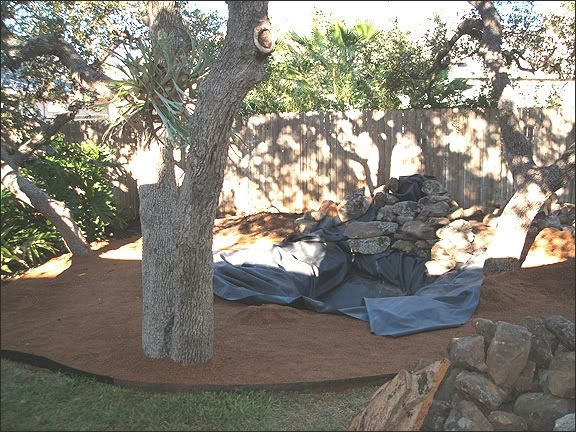
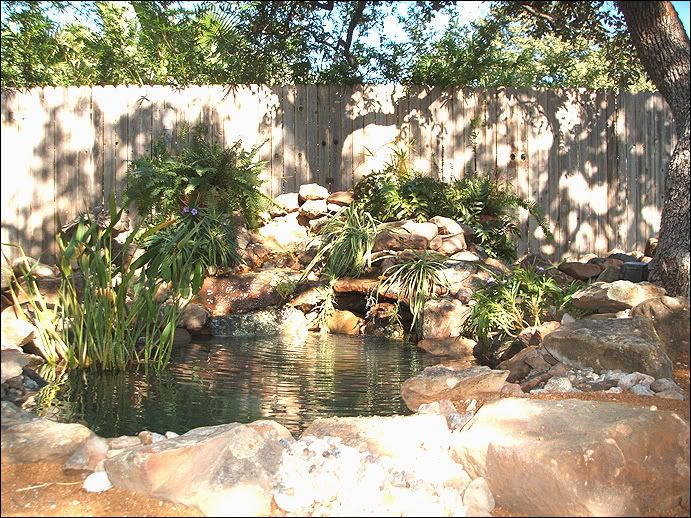
Some plants coming in to get the feel for the SOFT EFFECT of flora !
Right side elevated planting bed. I stacked some and staggered in larger boulders for visual contrast.
I did not get any shots of the piecing of the perimeter rock around the necklace of the pond. I used a shallow shelf method to hide any liner. I pocket mortared in the rock for structural safety along the edge. Hooked up the skimmer, drain line from the biofiler, installed 2 underwater lights.... and then filled er' up !